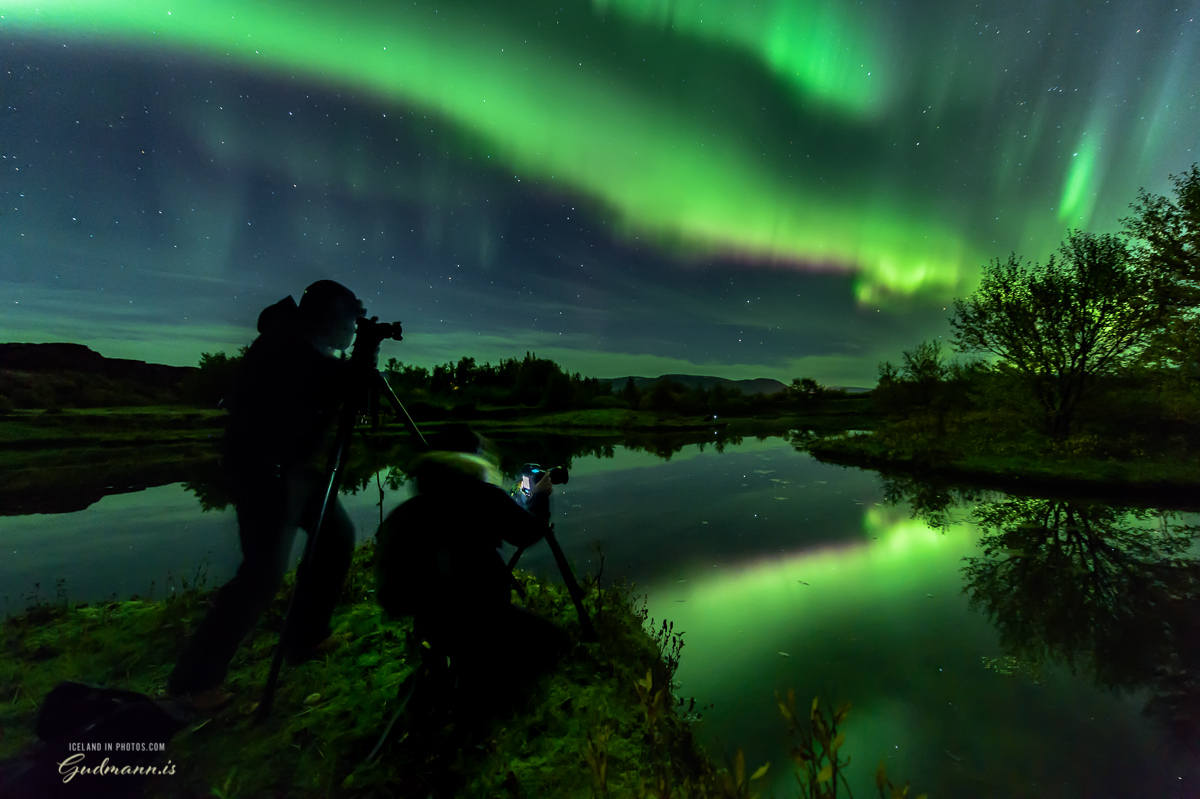
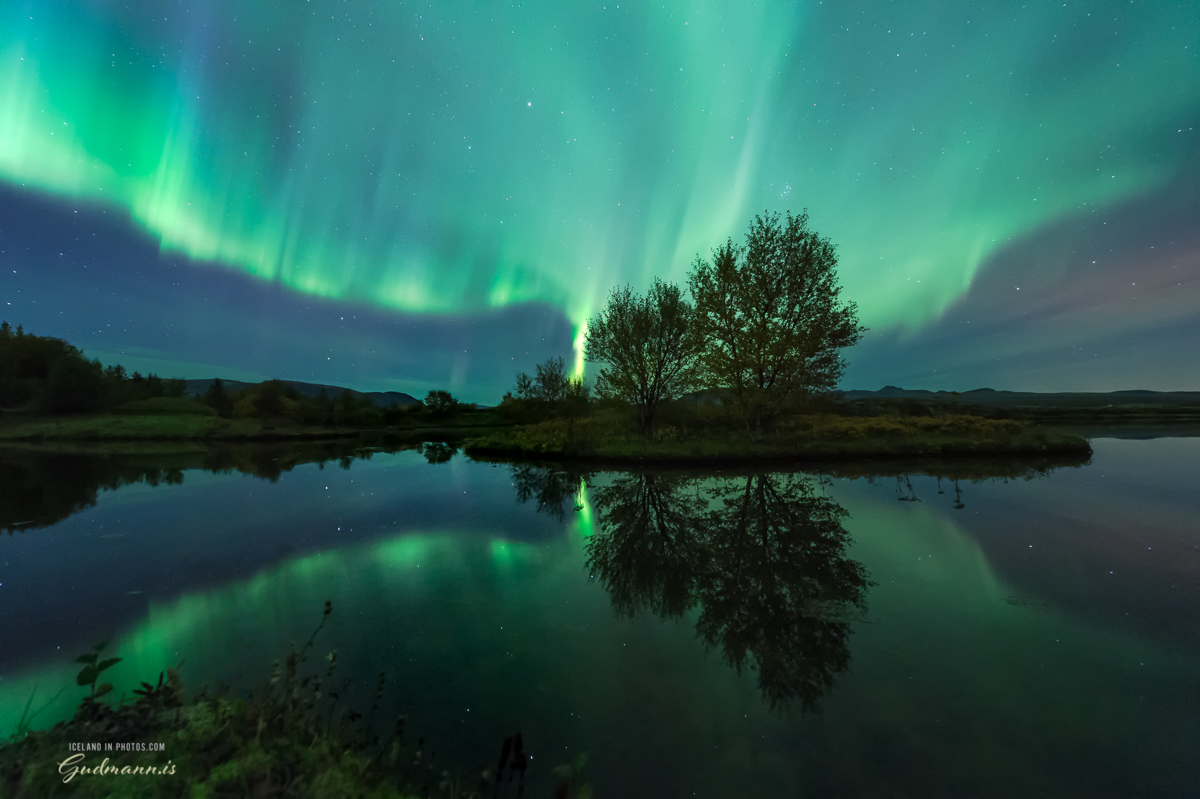
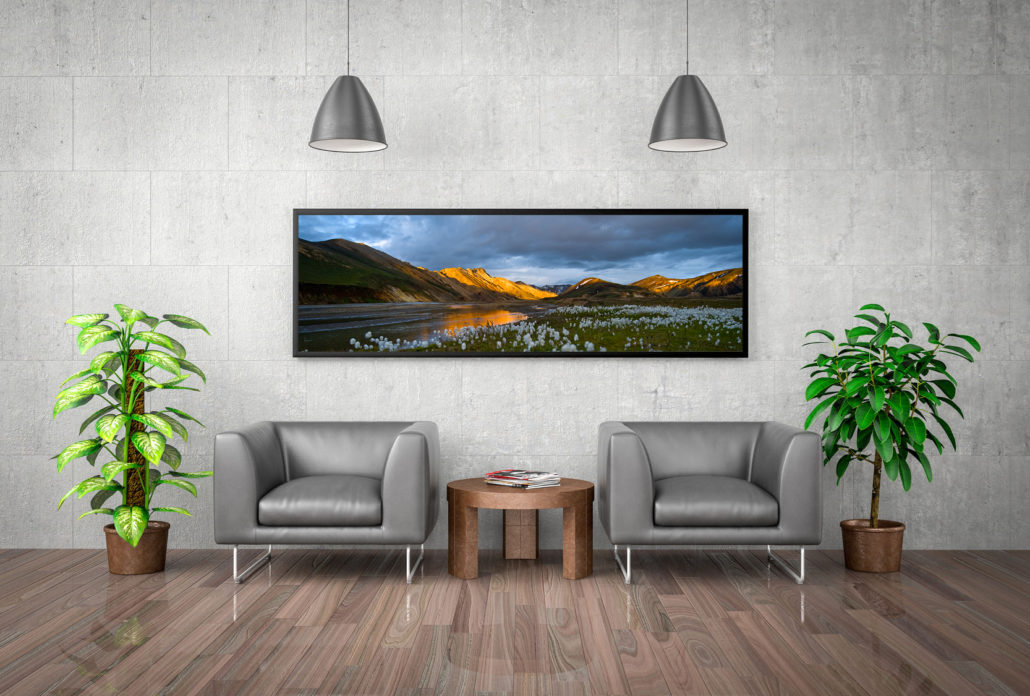
When it comes to the Northern lights us Icelanders are rather relaxed. I realize that many tourists and photographers travel to Iceland hoping to see the northern lights but since we have them more or less for 8 months a year I don´t run out in panic with the camera each time they show up. Some might find it interesting to look into the basic technique of my northern lights photography.
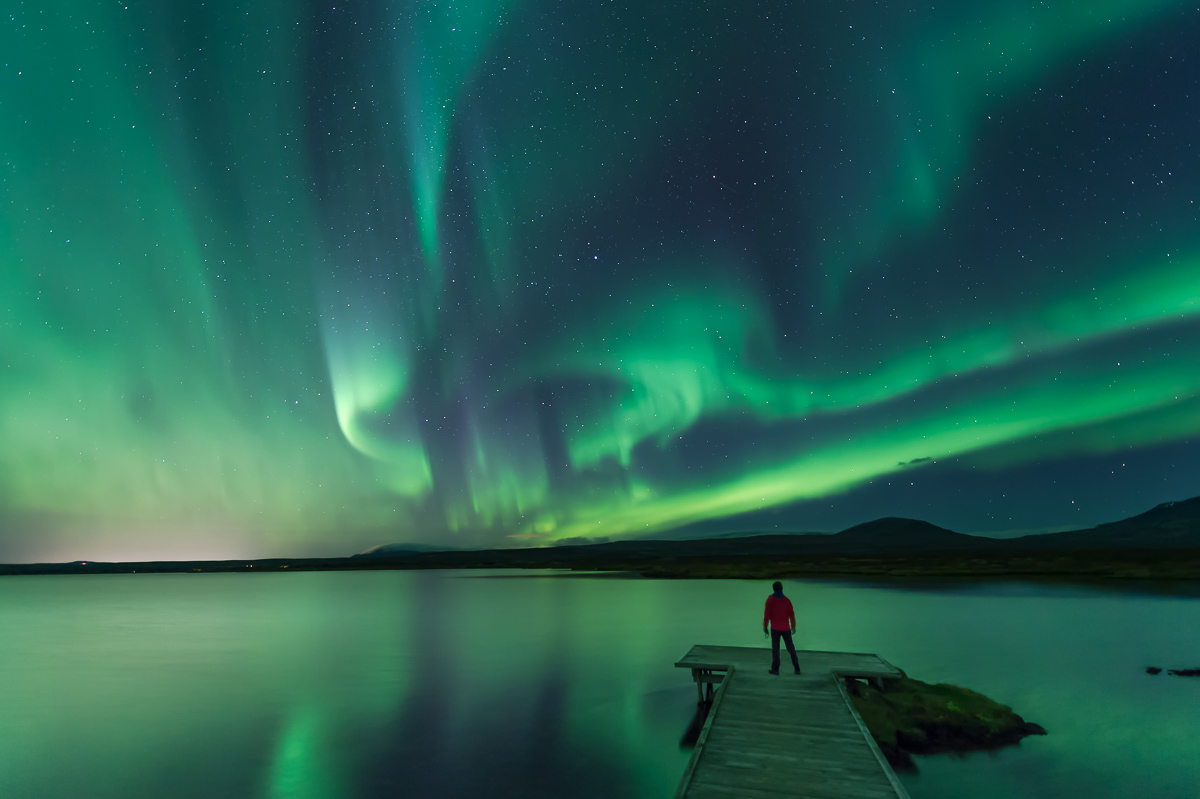
Few days ago we had a great forecast for the northern lights and the weather was promising. No wind and clear sky, but no moon. The moon lights up the landscape and I find it helpful to photograph the northern lights when we have some light from the moon. Full moon means though that you don´t see the lights as well compared to no moon when it´s totally dark.
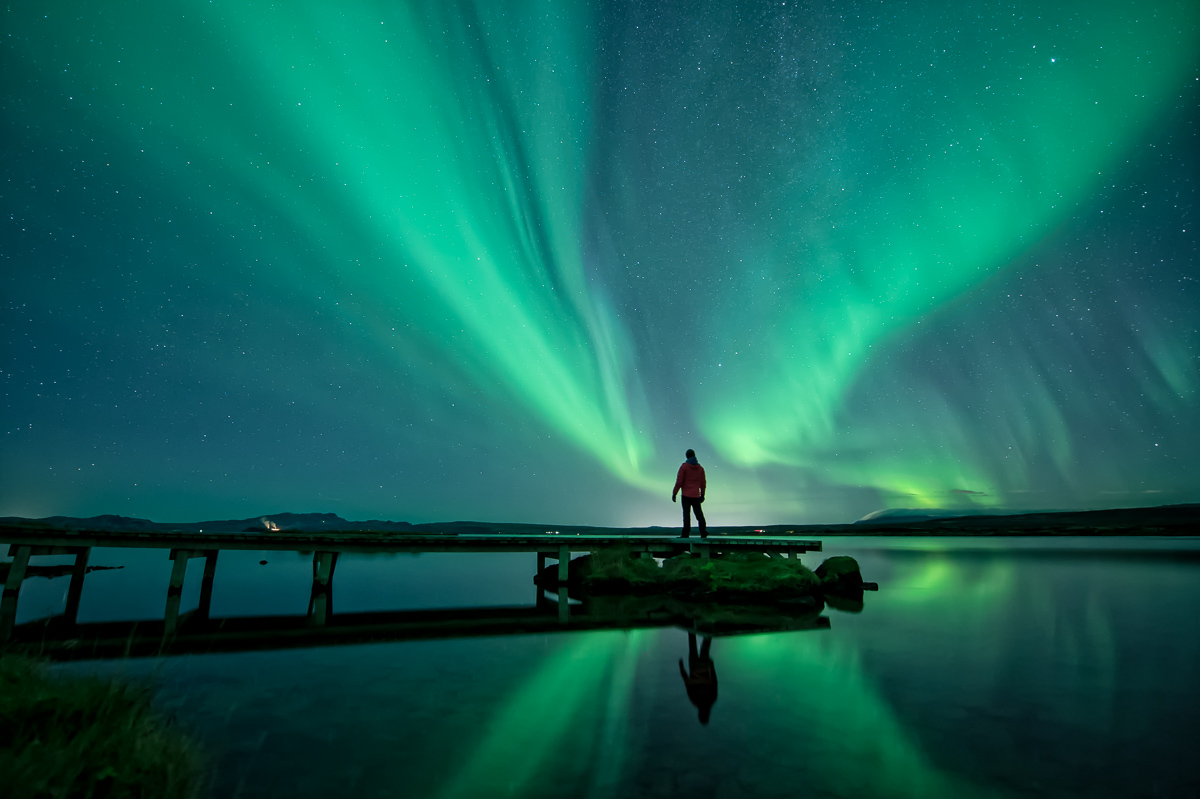
Northern lights can be seen anywhere in Iceland. Getting away from light pollution is important, but depending on the visibility they can still be seen despite some lights. Photographers would probably like to get some tips about photographing the northern lights. In short I only go out if the forecast is good. The website I put my trust on is the website of the Icelandic Met office. There you can see the forecast for the next three days, but make sure you also check the cloud cover forecast. The forecast ranges from 0 to 10. From my experience 2-3 gives hope for some lights, but 5-6 is very good and does not happen often. Keep in mind that this is only a forecast for the northern lights.
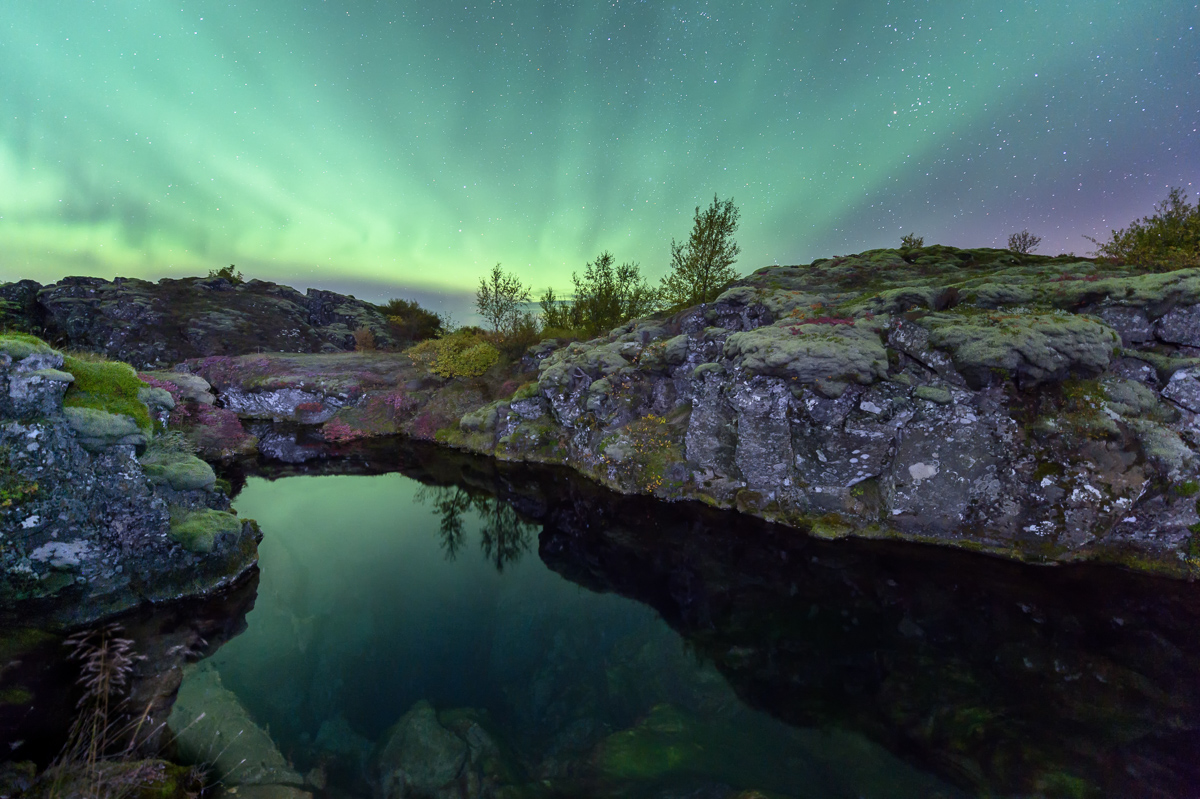
Photographing the northern lights is not really complicated. Bright lenses and cameras capable of high-iso are great. Depending on the activity and movements of the lights I am more or less using 8 -15 seconds at 1600-3200 iso. If the lights move fast shooting at only 2-3 seconds gives you more details – this is when bright lenses help. If you expose for more than 15 seconds in high-activity the sky will probably be completely green. Most of the time I use apperture 2,8 to 4 when using my 14-24 lens.
It is easy to get something green on your sensor. I believe photographing northern lights should go by the same lines as other landscape photography. Don´t forget to find foreground and try to search for leading lines. As for equipment I always use a headlight. It´s main use is to find the way in the dark, but it can be helpful to paint light on rocks if there is no moonlight. Having backlit buttons on my Nikon D4s is a blessing, but if you don´t the headlight is going to be useful.
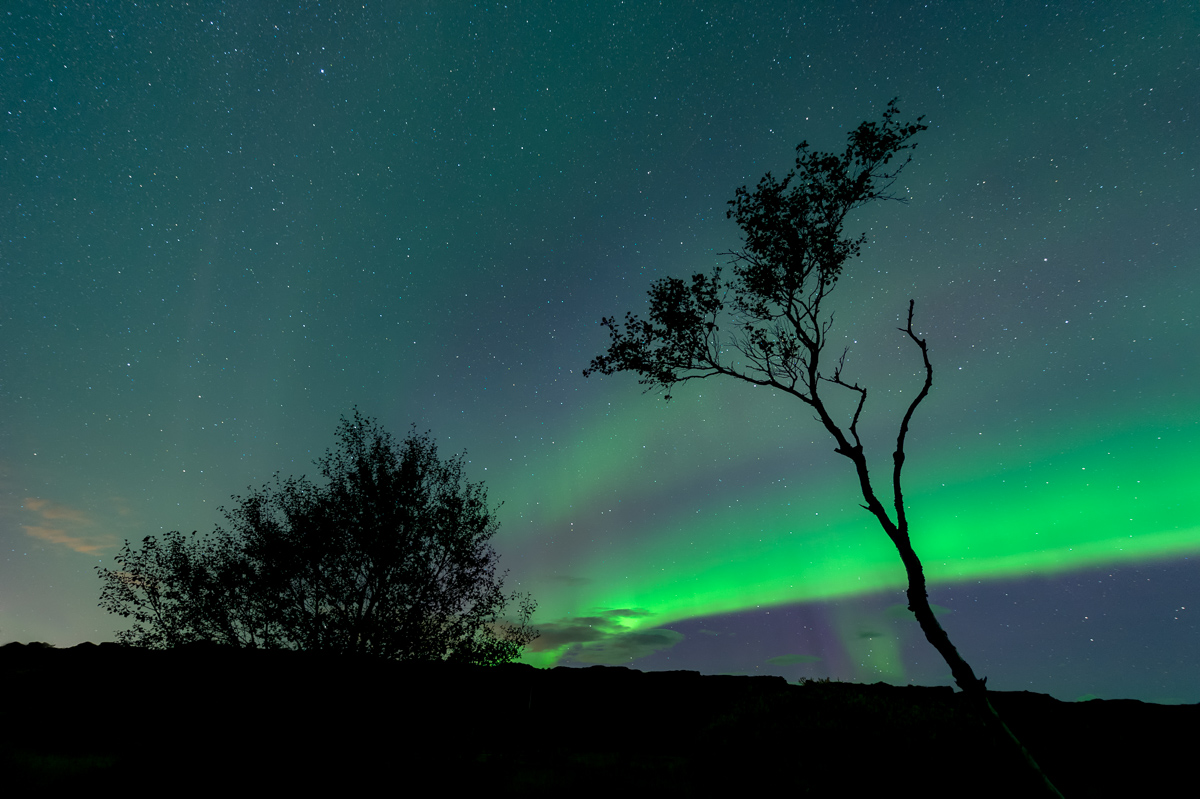
Focusing is probably the most difficult aspect of northern lights photography. This is were some like to use duct-tape to lock the focusing ring of the lens when they have focused on a star. I use live-view to zoom into a star and manually focus on it with the help of the live-view. If no stars are visible a distant light might help. Those of you who are using Sony cameras with focus-peaking can ignore these tips. You can keep bragging about your wonderful cameras and how easy it is to focus in the dark with the help of focus-peaking.
I am not mentioning obvious tools for northern lights photography like using a tripod, but using a remote helps. All movement of the camera gives you blurry images. I prefer to use exposure delay of 3 seconds. This means I do not have to use the remote. The mirror opens and the sensor takes the image 3 seconds after you press the shutter-button.
Remember to dress warm. Nights in Iceland tend to be cold and standing in the same spot for a long time waiting for the northern lights takes patience. You will enjoy the lights more if you stay warm.

