It happened again. The eruption in 2021 was an adventure we were lucky to witness. For 183 days the volcano in Geldingadalur Walley entertained photographers and tourists from all over the world. Now, a year later at the beginning of August an eruption started in Meradalir, close to where the lava had stopped flowing from Geldingadalur.
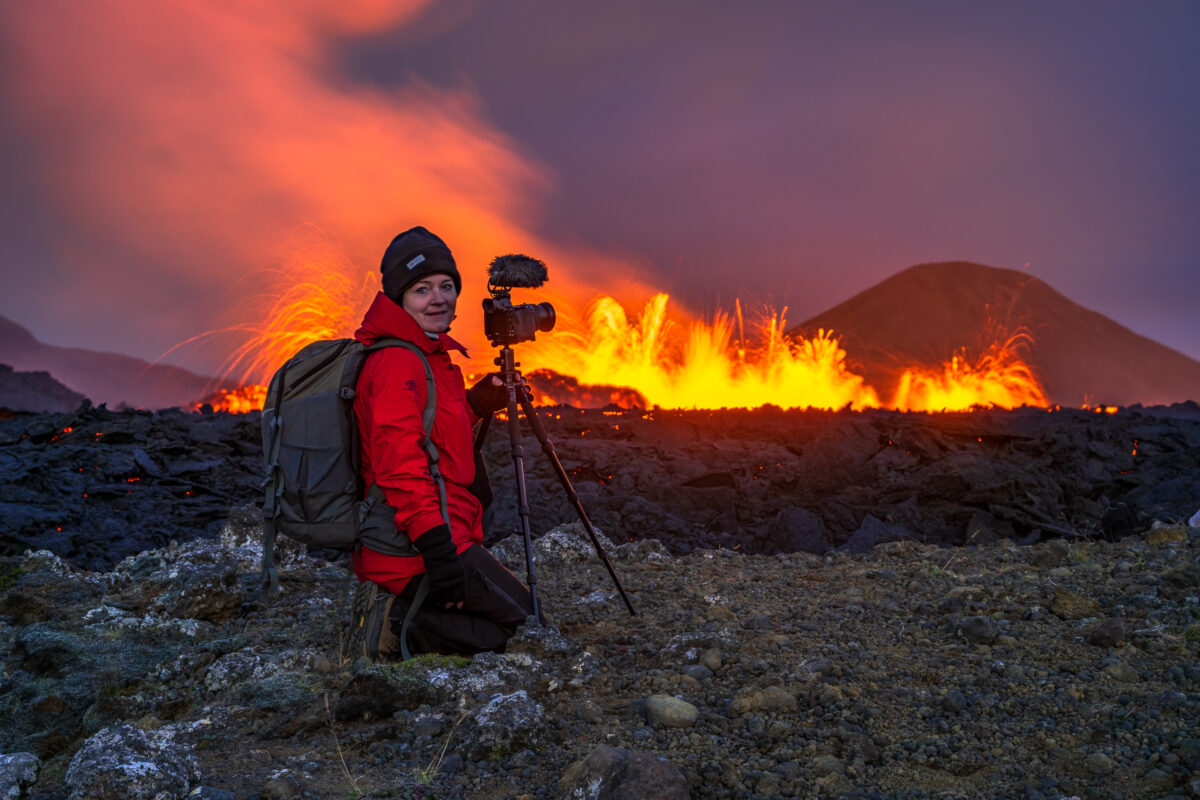
On the second day of the eruption, we hiked into Meradalir. The weather was good for a hike of this caliber. Already hundreds were hiking to the eruption.
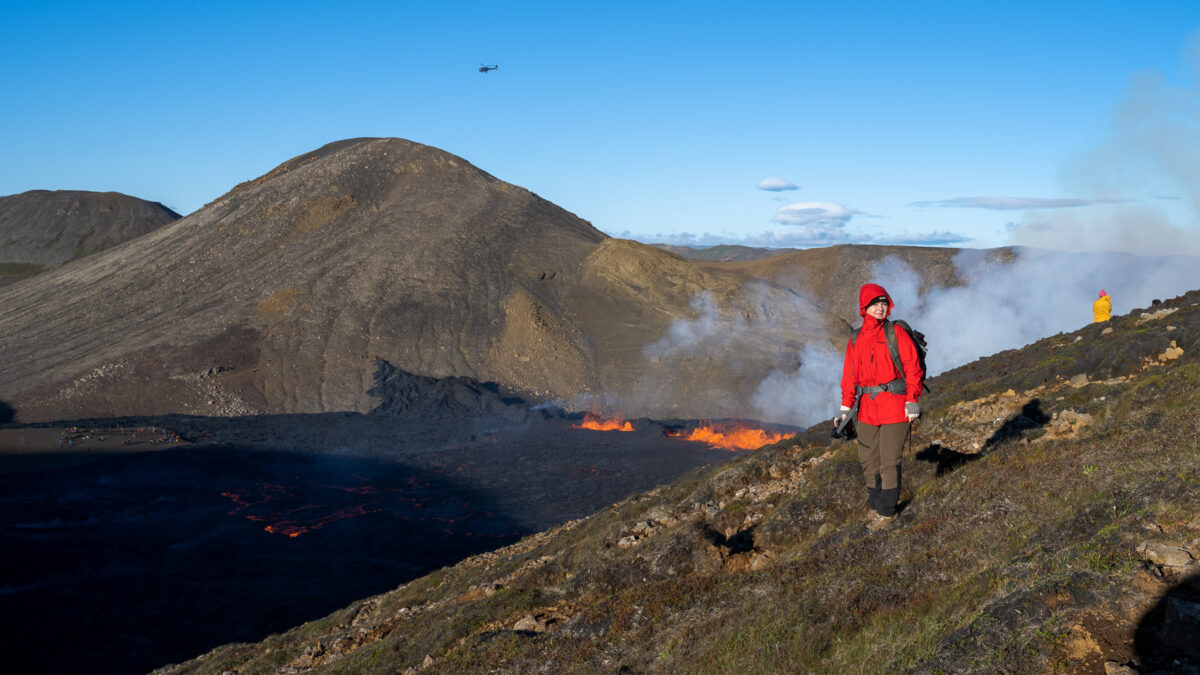
Arriving after a 2 hours hike over a rough surface, the eruption down in Meradalir looked like a smaller and less photogenic eruption than the eruption in Geldingadalir in 2021. Surrounded by hills and mountains, the eruption was fooling the eye. Actually, it was 5-10 times bigger than the eruption in Geldingadalur when it started.
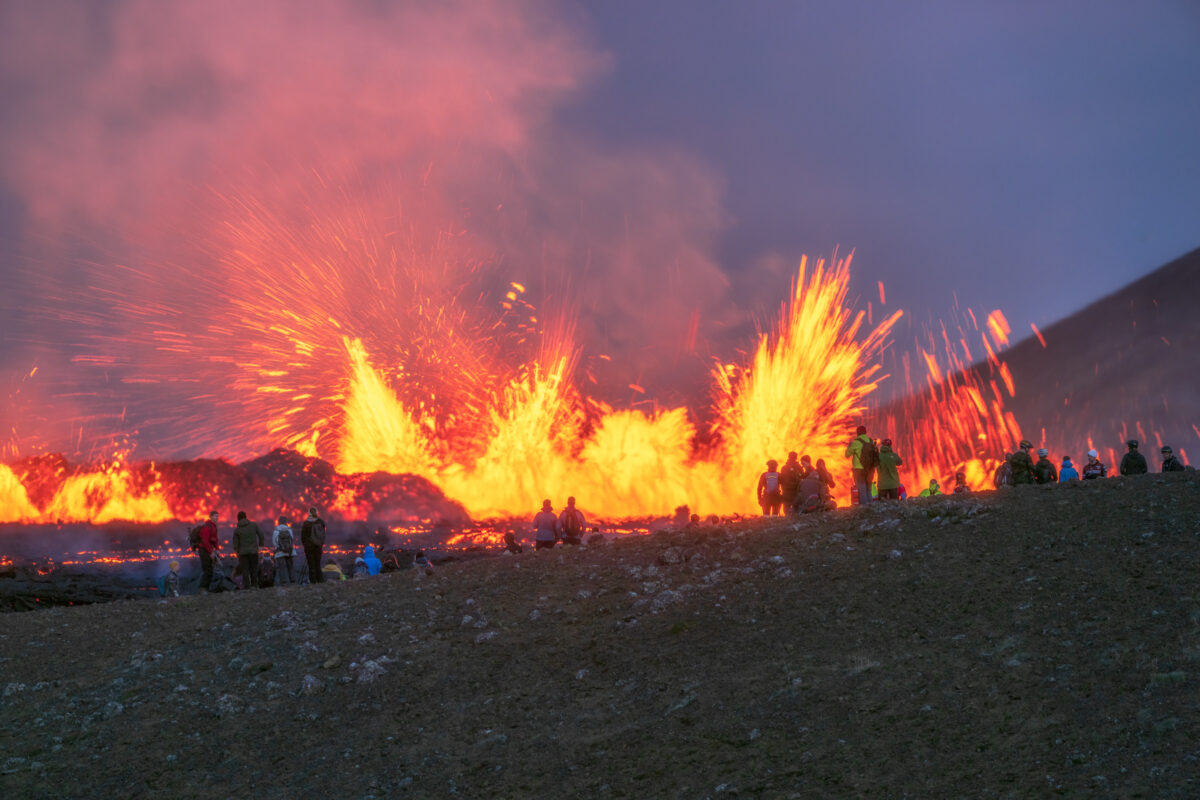
Sending the drones over the eruption was risky. The lava field was huge, and the heat was a risk for the drones. We were flying a Mavic 3 and Mini 3.
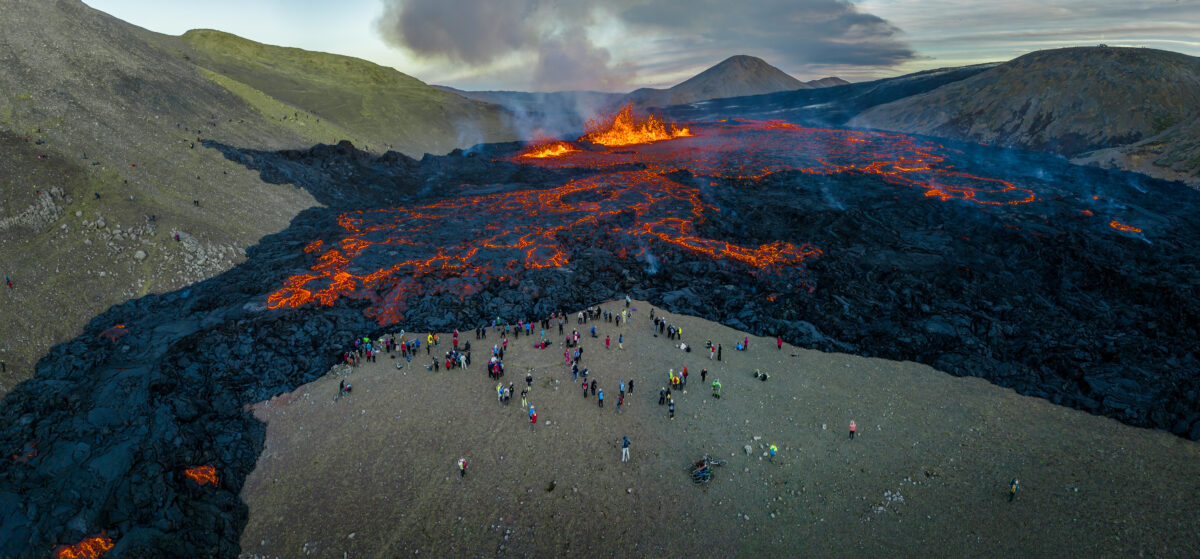
A friend of ours was also flying a Mavic 3. On the first flight over the lava field, the images suddenly appeared out of focus. After landing, it was obvious the sensor was damaged. He was probably flying at 80 meters above the lava. Our Mavic 3 was also sometimes around 70-80 meters at the lowest over the lava, but it survived without any apparent damage.
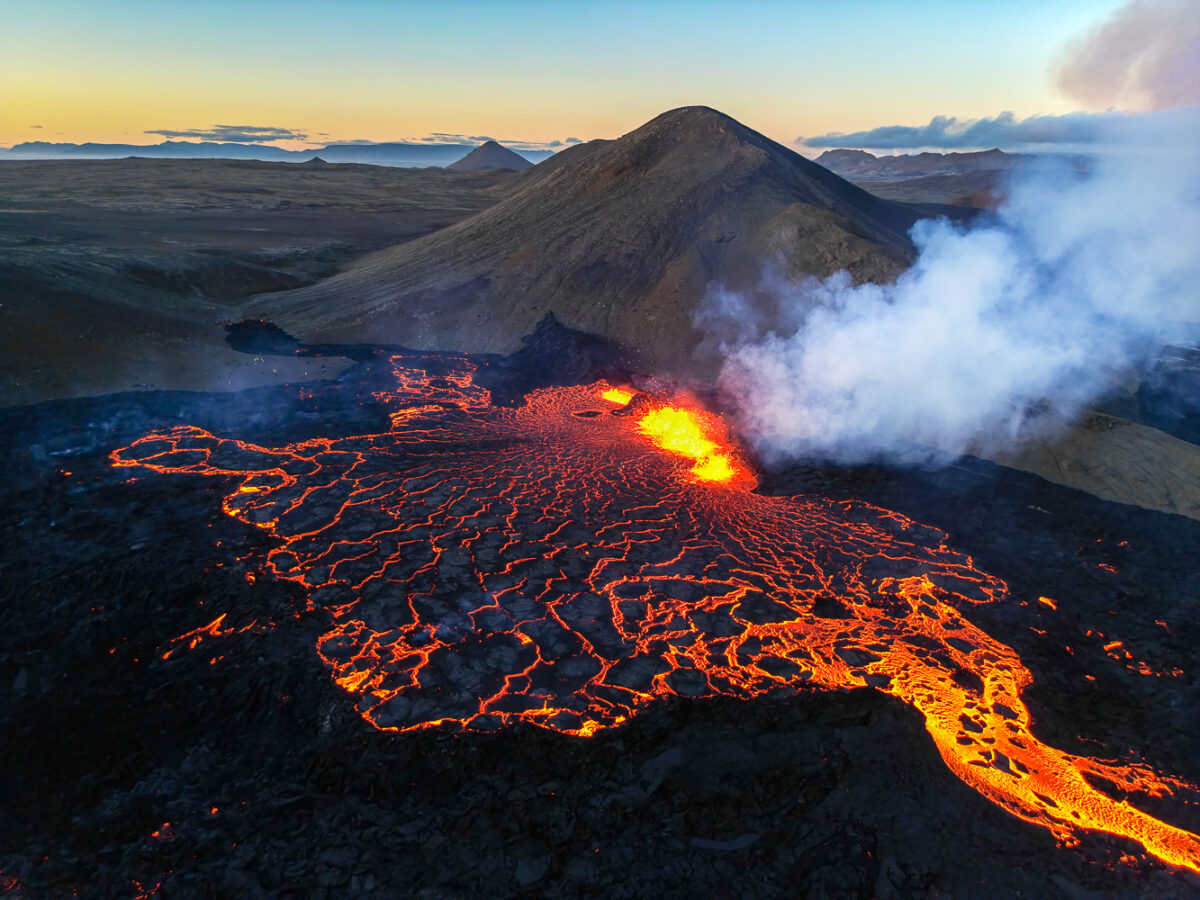
After realizing the sensor was damaged, the morale took a dive since it is a bit of a shock to realize an expensive drone is possibly lost. We had 4 batteries but flew only two on each drone.
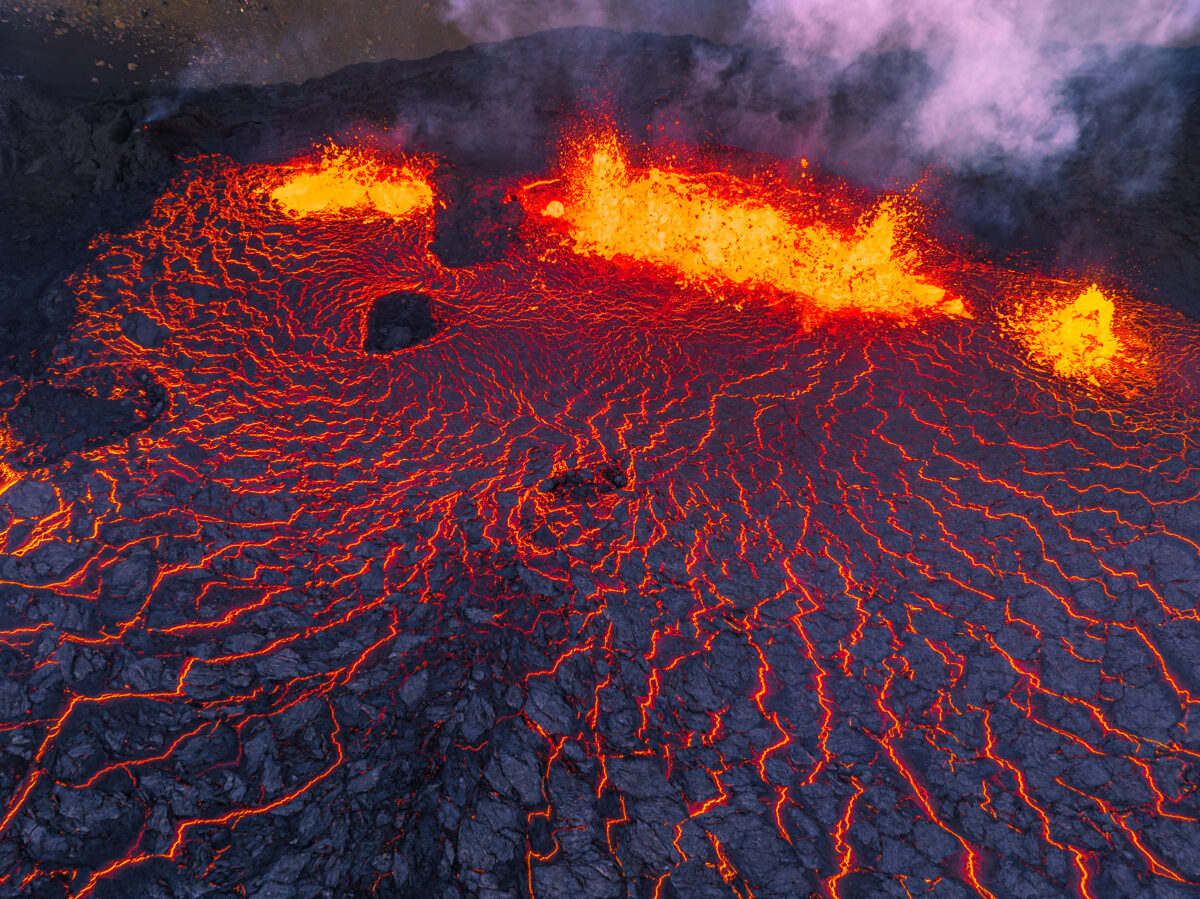
If you are going to fly a drone at the eruption, keep in mind to stay upwind if possible, and remember there is no way to guess what is a safe altitude. Drones in Iceland are allowed to fly up to 120 meters in general. This is a rule we take with a grain of salt, but you need to keep in mind that airplanes are allowed to fly down to 150 meters (500 feet). Watching the airplanes and the helicopters at the eruption, it was obvious some of them were going lower than 120 meters. So – keep an eye on your drone at all times.
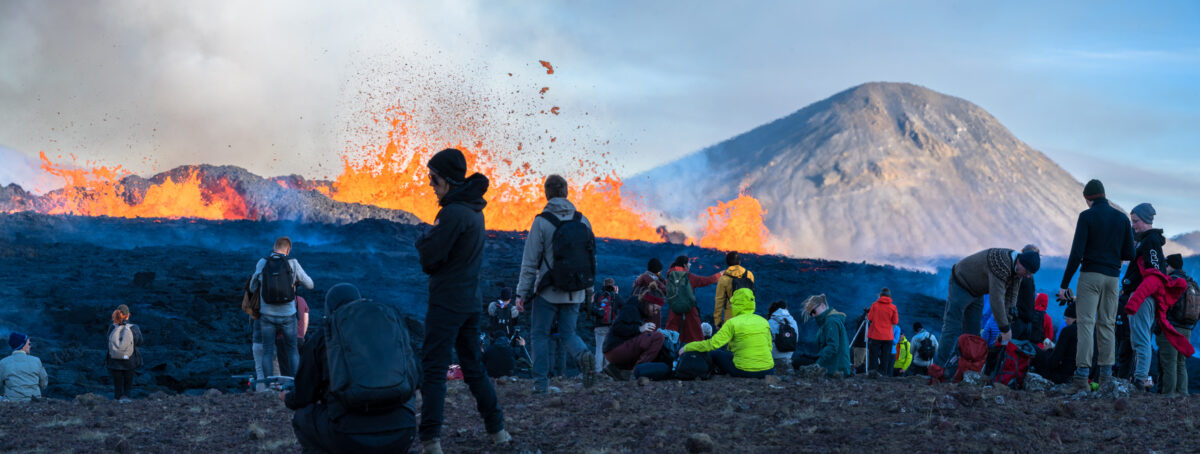
Hiking for two hours one way meant we took only the most neccesary equipment. We took the Nikon Z7ii bodies. One with a 24-70 F4 and another with a 24-120 F4.
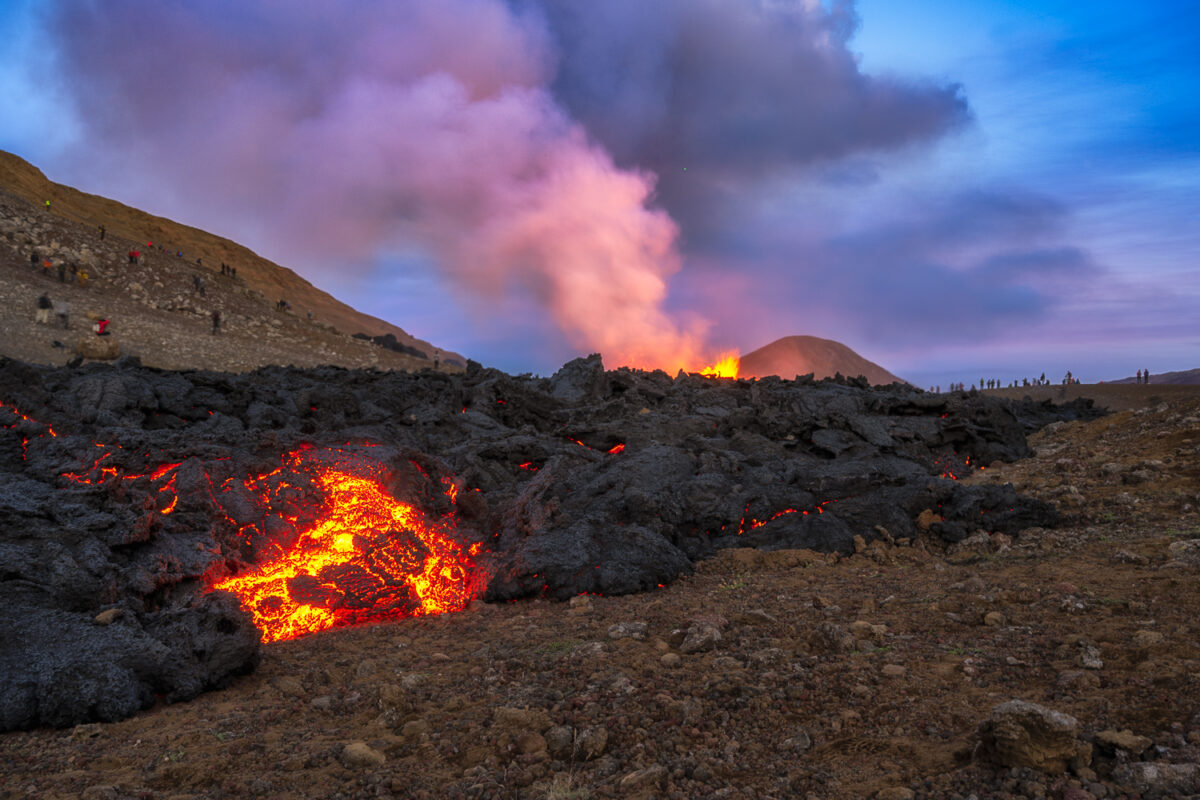
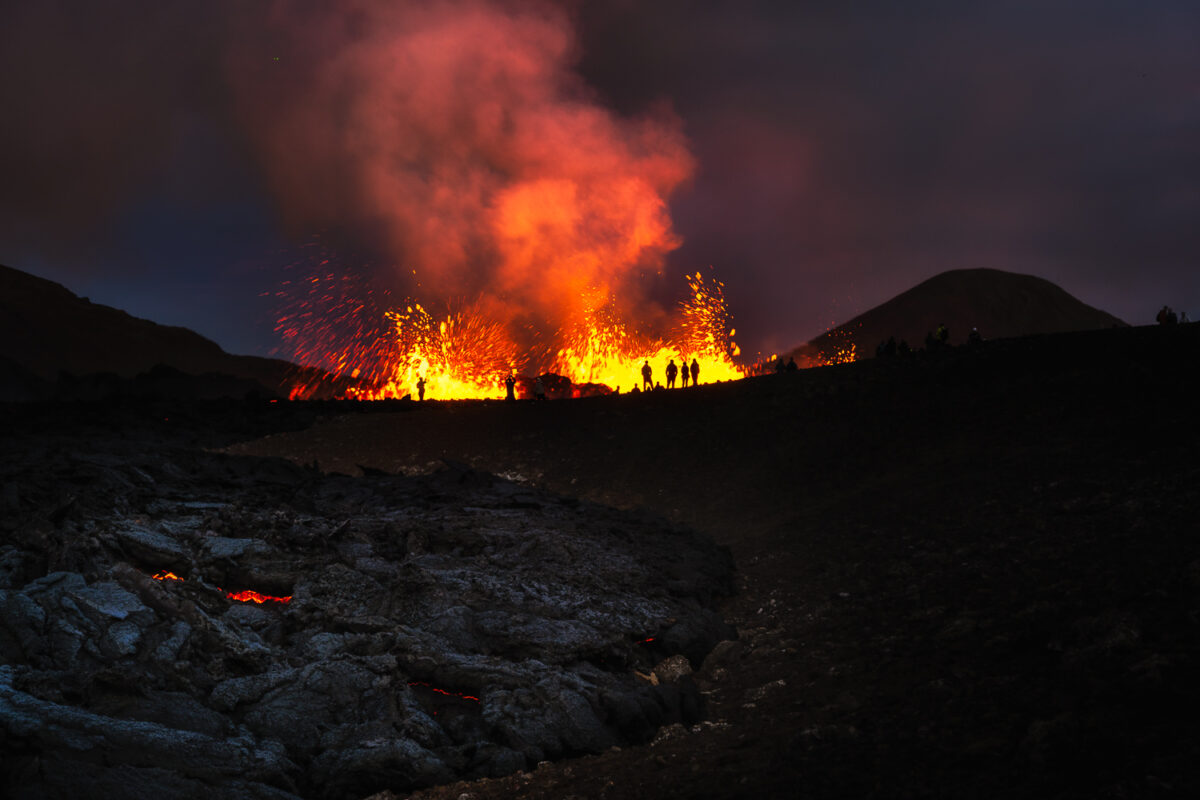
If you plan to hike to the eruption, it is crucial to keep a few things in mind. Since you will probably be hiking for at least 4 hours, ensure your toes and legs are in shape for a long and challenging hike. The one-way hike takes about two hours, but let´s not forget that you probably also want to walk up and down the hills surrounding the eruption.
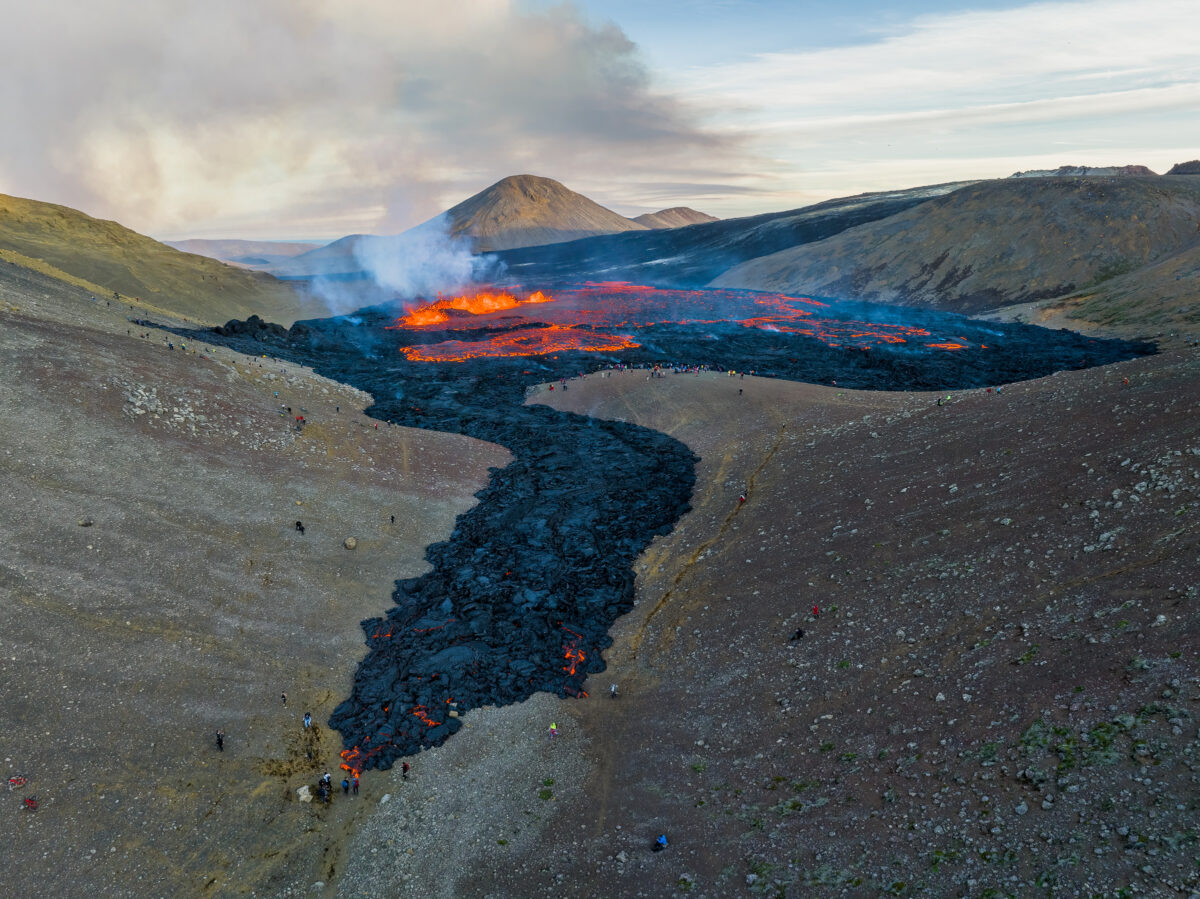
We take extra clothes with us in a backpack. When darkness looms in it starts getting colder. Even though it is cozy to sit by the lava to keep warm, there is no comforting lava to keep you warm when hiking back in the darkness.
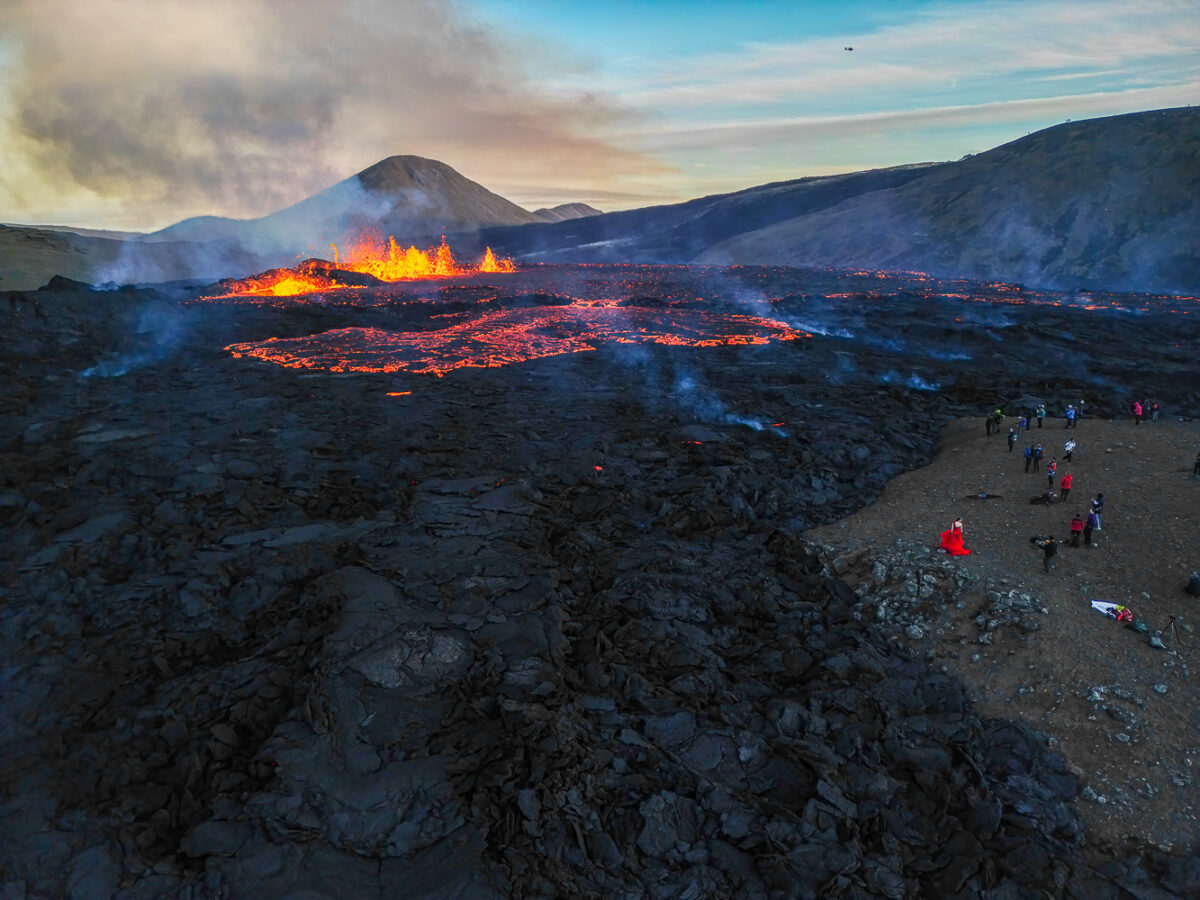
The lava really starts to show during the blue hour. When it gets totally dark, the contrast between the lava and the landscape increases.
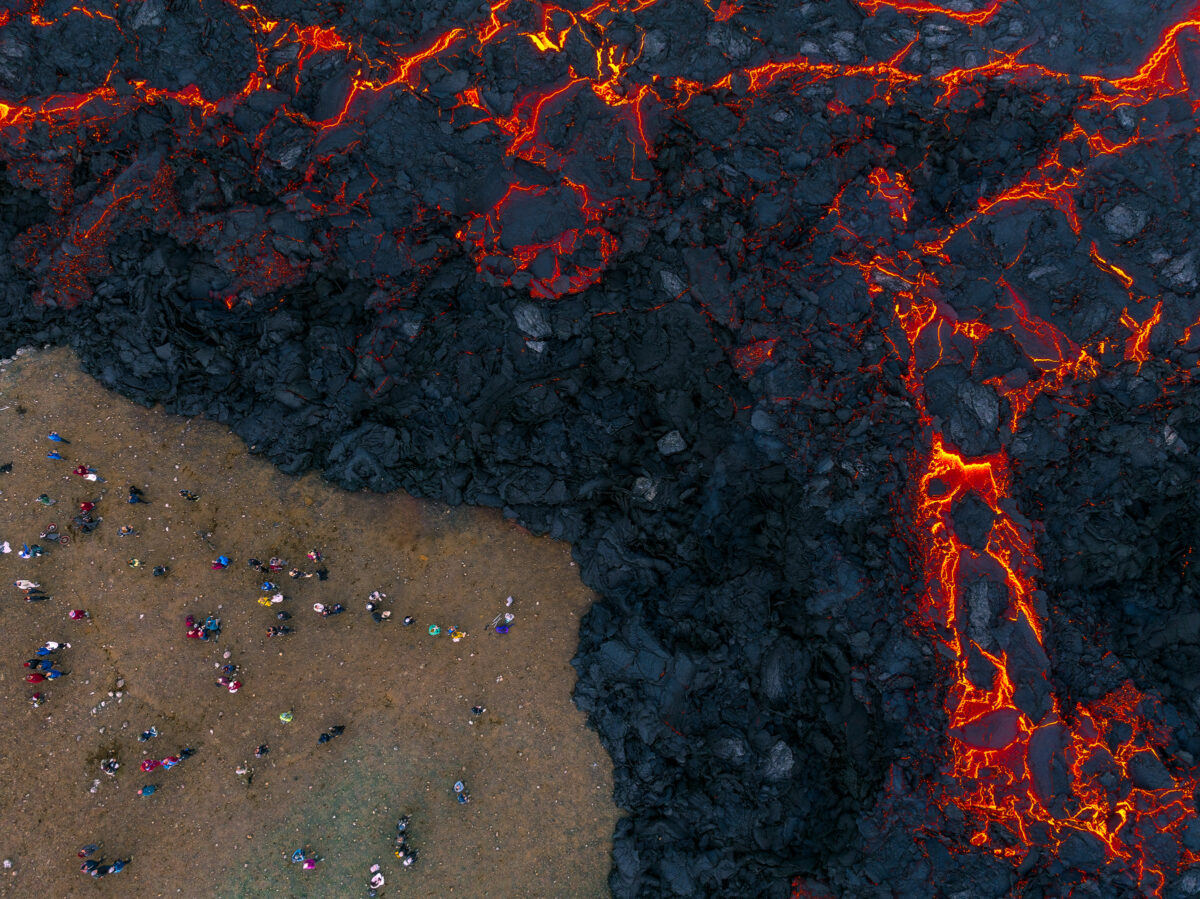
We did not spend the whole time at the eruption photographing. It is important to remember to witness this wonder of nature without the camera. Just stand there in awe and feel the power, see the energy flowing and remind yourself of the fact that the earth rules. We are only visitors on this planet.
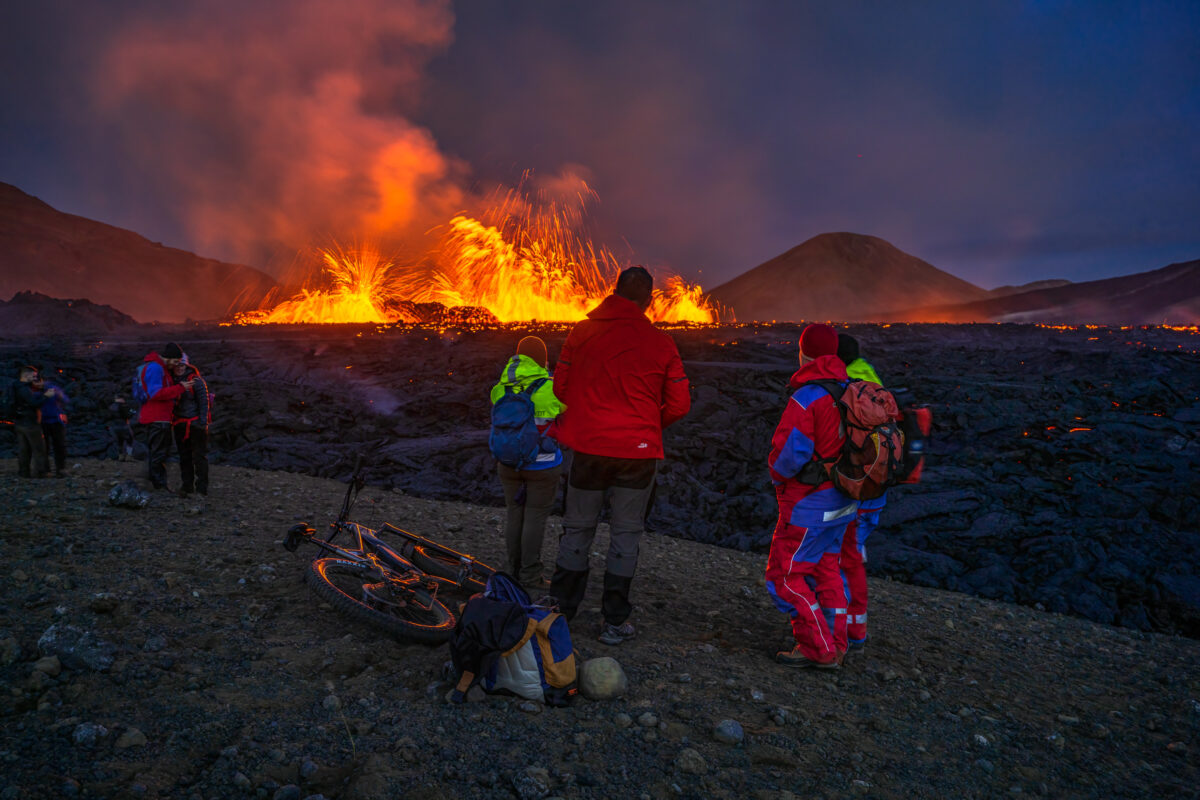
Visit the Eruption information website before you go
The site Safetravel.is is a must for those planning to hike to the eruption. There you will find information about the hike, valuable lists and warnings if there are any due to weather. Sometimes the police close the access to the eruption, and Safetravel.is is a good site to visit for vital information.
Our Photography-memo-list for the hike to the eruption
- Backpack
- One camera, one lens.
- The lightest tripod you own if you are going to use filters or take video.
- 6-stop filter.
- A drone plus extra batteries.
- A headlight with extra batteries.
- Good hiking shoes.
- Warm clothes.
- Wind shells (jacket and trousers).
- Rain clothes if the forecast says rain.
- Warm hat and gloves.
- Water
- Snacks, energy bars, and sandwiches. It is a long hike.
- Check the weather forecast on yr.no
- Check the wind direction when you start the hike – stay upwind from the gas at all times.
- Check Safetravel.is to see if the police have closed access to the eruption due to bad conditions.
Enjoy – Stay safe!
More photos can be found in our galleries at gudmann.is and gyda.is.
Our book Photographing Iceland – A Photo Guide To 100 Locations is now available as an eBook in our online store GGart.is
Our Books About Iceland
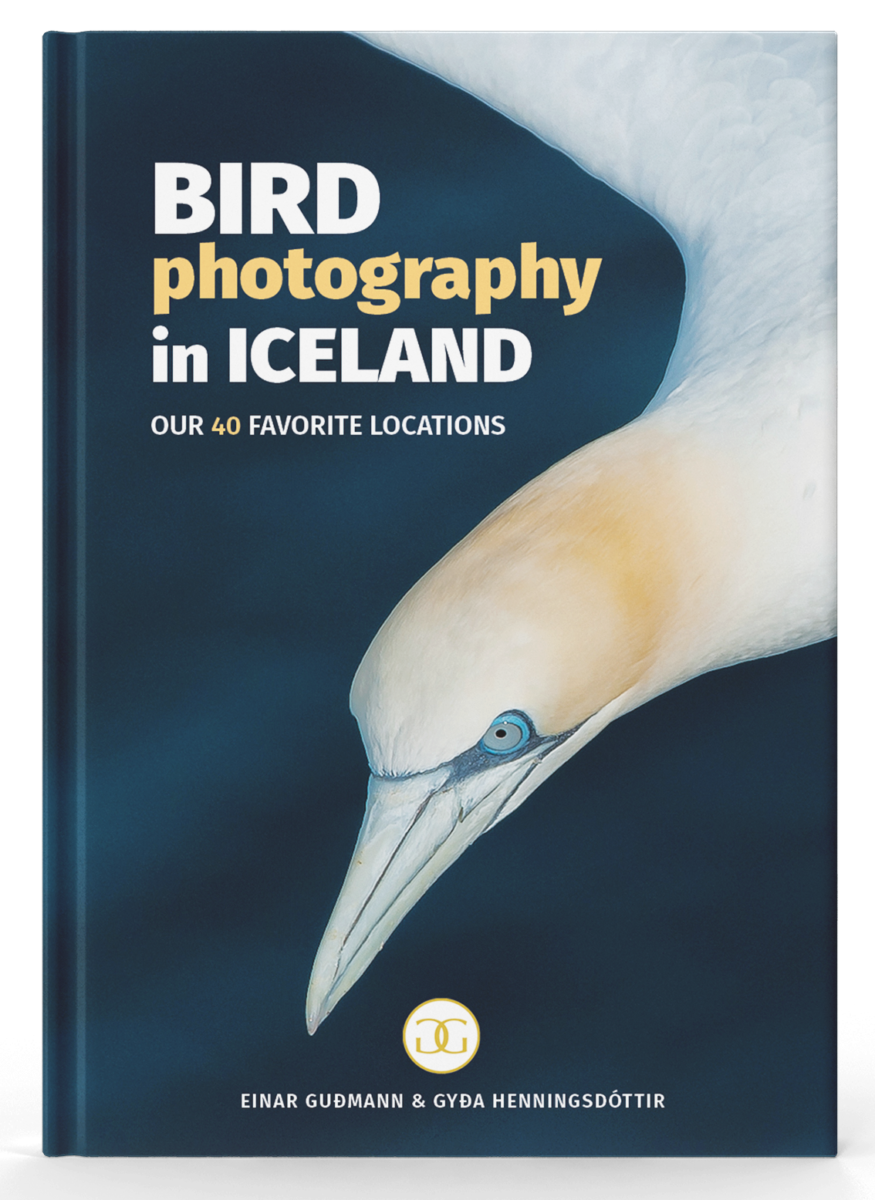
Bird Photography In Iceland—Our 40 Favorite Locations
THE BIRD PHOTOGRAPHERS MUST HAVE BOOK WHEN GOING TO ICELAND

Bird Photography In Iceland—Our 40 Favorite Locations, is written for those planning to photograph birds in Iceland. We share our secrets and aim to maintain a straightforward, honest, no-nonsense approach, free from tourism companies’ hidden marketing. We recommend these locations to our friends who are into bird photography.
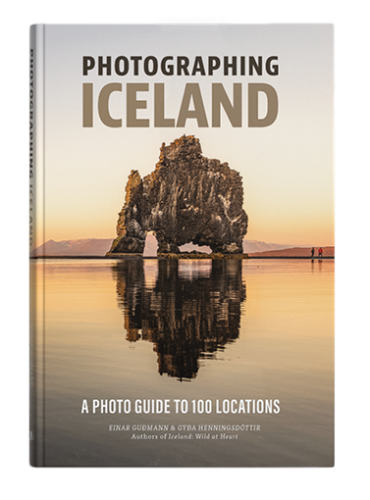
PHOTOGRAPHING ICELAND – A Photo Guide to 100 locations
It is a must-have if you plan to visit Iceland. It is an excellent guide to Iceland and the book we wish we had read years ago when we started traveling in our country for landscape photography. The book is the result of a vast undertaking that took more than a year. It is available in all major bookstores in Iceland and our online store. It is now also available as an e-book.

The e-book version can be found here…
The printed version is 21×14,5 cm and 352 pages.
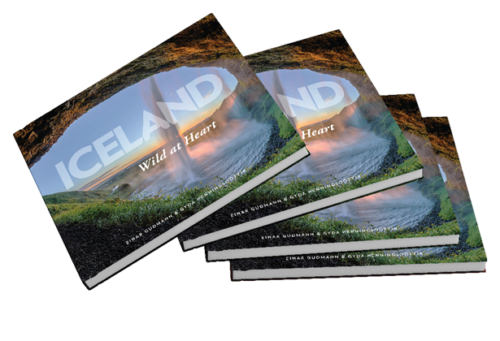
ICELAND: Wild At Heart
Our beautiful bestseller. Available in all bookstores in Iceland and our online store.
Hardcover large format: 26,5 x 22,5 x 2cm and 160 pages.
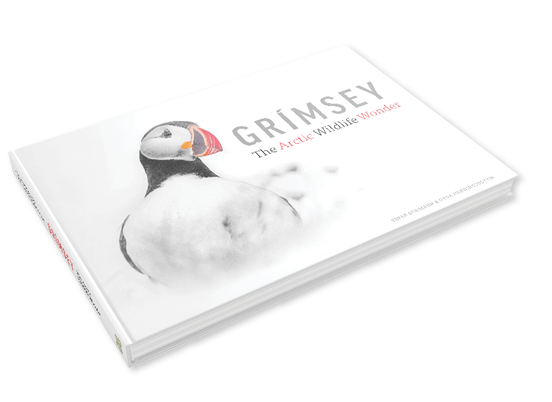
GRIMSEY – The Arctic Wildlife Wonder
This is a must-have if you plan to visit Grimsey. It is only available in our online store and the Gallery in Grimsey.
Hardcover: 24,5 x 17,5 cm and 120 pages / 7000 words
It is possible to order our books from our online store, which ships worldwide: www.ggart.is.
Notice that the shipping cost is the same if you order two books.


